- The Ever-Spinning World of Slots: A Unique Look into Their Evolution and Appeal
- The Fascinating World of Slot Machines: Luck, Technology, and Entertainment
- EmakQQ: Platform Domino QQ Online Terpercaya di Indonesia
- JepangQQ: Platform Permainan Kartu Online dengan Nuansa Modern
- EmakQQ: Platform Permainan Online Terpercaya dan Menghibur di Indonesia

DIY Window Tinting: A Step-by-Step Guide for Homeowners
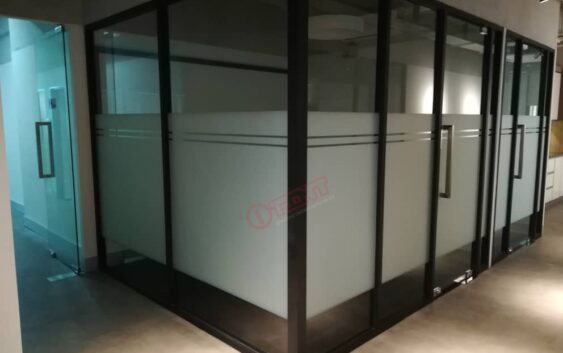
Window tinting isn’t just a professional service—homeowners can also embark on the rewarding journey of DIY window tinting Click here. In this comprehensive step-by-step guide, we will walk you through the process, offering practical insights and tips to ensure a successful and professional-looking result for your home.
Step 1: Gather the Necessary Tools and Materials
Before diving into the tinting process, make sure you have all the required tools and materials. This may include window film, a utility knife, a squeegee, a spray bottle with a soapy water solution, a heat gun, and a cleaning cloth. We’ll provide a detailed checklist to ensure you’re well-prepared for the DIY project.
Step 2: Measure and Cut the Window Film
Accurate measurements are crucial for a seamless installation. We’ll guide you on how to measure your windows and cut the tint film to the appropriate size. Tips on handling and cutting the film without causing damage will be included, ensuring a precise fit for each window.
Step 3: Clean the Windows Thoroughly
Proper cleaning is essential to achieve a flawless result. We’ll provide a detailed guide on how to clean your windows effectively, removing any dust, dirt, or debris that could interfere with the adhesion of the tint film. A clean surface is the foundation for a successful DIY window tinting project Click here.
Step 4: Apply the Soapy Water Solution
Creating a soapy water solution is a key step in the installation process. We’ll explain the purpose of this solution and guide you on how to evenly apply it to the window surface. This step ensures that the tint film can be easily maneuver and position before it adheres permanently.
Step 5: Install the Tint Film
With the soapy water solution applied, it’s time to install the tint film. We’ll provide a step-by-step walkthrough, detailing how to position the film on the window, smooth out any bubbles or creases, and achieve a professional finish. Tips for using the squeegee and heat gun effectively will be include.
Step 6: Trim Excess Film and Final Adjustments
After the film is in place, you’ll need to trim any excess material and make final adjustments. We’ll guide you on how to use the utility knife to trim the film neatly and ensure a clean, polished appearance. This step is crucial for achieving a professional-looking outcome.
Step 7: Clean and Maintain Your Tinted Windows
Once the tint film is successfully install, we’ll provide tips on cleaning and maintaining your tint windows for long-term durability and clarity. Proper care ensures that your DIY window tinting project Click here stands the test of time.
Embark on the DIY journey of window tinting with confidence. Armed with the knowledge and step-by-step guidance provided in this comprehensive guide. Transform your home windows and enjoy the benefits of tinted glass, all accomplished with your own two hands.